Zabbix: LDAP authentication based on groups (version 5.4, 6.0)
18th Feb 2021This article describes how to extend Zabbix LDAP authentication. Note this article applies to Zabbix versions 5.4, 6.0 that differes from version 5.0. If you are planning to use this feature with version 5.0 then please see this this article.
To understand and use what is written in this article you need to be familiar with Zabbix authentication configuration (see Authentication).
As most of modern systems Zabbix provides an integration with LDAP server for authentication purposes. Authentication using LDAP can be set up following instructions at this link. Let's briefly explain how it works. You can define that LDAP authentication must be used for some User groups or as a system default authentication method (in this case all User groups that have System default type of Frontend access will be using LDAP authentication). Let's assume you have configured LDAP authentication according to Zabbix documentation and it is properly working. When a user logs in into Zabbix WebUI the server checks whether this username exists in its internal database and finds out its User group membership. If the User group is configured with LDAP authentication the Zabbix server connects to LDAP server passing username and password the user entered at the login page. LDAP server preforms authentication for this user and password and returns the result to Zabbix server . If authentication failed then Zabbix server obviously denies access to the user, if succeeded then it get a lot of information from LDAP server about the user, what information returned depends on type and configuration of LDAP server (MS domain controller or OpenLDAP server or any other LDAP server implementation). Everything described above works in Zabbix server 'out of the box', the only thing that Zabbix server needs from LDAP server is the result - authenticated or not - everything else is ignored. There is one major drawback though - you need to create all the users in Zabbix server's internal database (Administration -> Users -> Create user). If it's one time job then it's probably ok but what if you have several teams (groups) that need access to different Host groups with different privileges and each group has many members. With every new group member somebody will need new user using Zabbix server WebUI.
The solution proposed in this article works this way. All users are organized in groups in LDAP server. Mapping is created LDAP group to Zabbix server user group via Zabbix server WebUI. When a user belonging to LDAP group X logs in into Zabbix WebUI and Zabbix server cannot find this Username in its database then it gets a list of all LDAP groups this user belongs to and a search is performed for whether any of LDAP groups is mapped to a Zabbix user group. If at least one mapping is found then the user is created in Zabbix databse with information from LDAP (first and last names, e-mail address) and this user belongs to the Zabbix user group from mapping with respective permissions. This algorithm is implemented in non-official fork of Zabbix server https://github.com/BGmot/zabbix (see README about different ways to install it).
The easiest way to test this solution is to deploy these docker containers (if you don't want to touch your Zabbix server instance):
docker run -p 3389:389 -p 6636:636 --name openldap-server --detach bgmot42/openldap-server:0.1.1
docker run -p 8081:80 -p 4443:443 --name phpldapadmin --hostname phpldapadmin --link openldap-server:ldap-host --env PHPLDAPADMIN_LDAP_HOSTS=ldap-host --detach osixia/phpldapadmin:0.9.0
docker run -p 8080:80 --name zabbix-appliance -t --link openldap-server:ldap-host -d bgmot42/zabbix-appliance-ubuntu:6.0.0-bg
By doing the above you will start three docker containers:
- openldap-server - the image created by me specifically for testing/demo, based on https://github.com/osixia/docker-openldap
- phpldapadmin - simple WebUI to see configuration of openldap-server (and modify it as needed)
- zabbix-appliance - Zabbix server with 'LDAP authentication based on groups' feature (baked off https://github.com/BGmot/zabbix repository
Bringing up zabbix-appliance container takes time as it creates the database schema from scratch, before proceeding watch its logs:
docker logs -f zabbix-appliance
and do not proceed until you see that all zabbix-server processes started:
<snip>
   381:20210226:031430.484 server #33 started [alerter #2]
   375:20210226:031430.484 server #27 started [trapper #3]
   384:20210226:031430.484 server #36 started [preprocessing worker #1]
   388:20210226:031430.487 server #39 started [lld manager #1]
   386:20210226:031430.488 server #37 started [preprocessing worker #2]
   392:20210226:031430.493 server #42 started [alert syncer #1]
   387:20210226:031430.577 server #38 started [preprocessing worker #3]
To test whether containers are running fine perform following checks (wait 2-3 minutes before checking).
In your browser go to https://localhost:4443/ you should see LDAP admin's web page, click login:
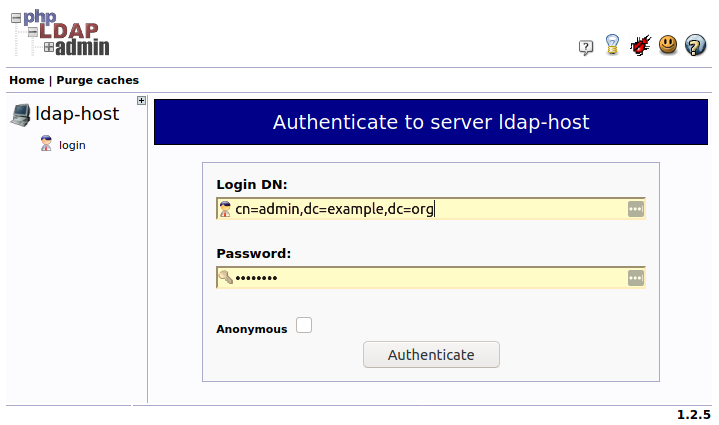
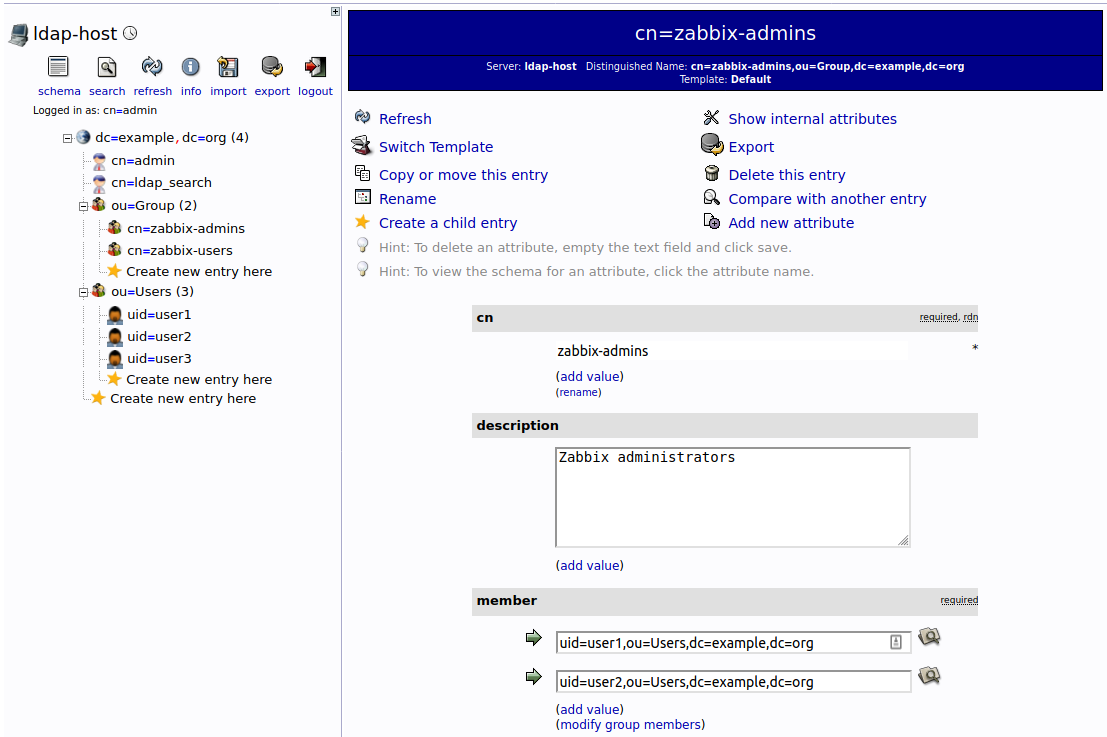
Enter 'cn=admin,dc=example,dc=org' in Login DN field and 'password' in Password field, click Authenticate. You should see following structure of the LDAP server (picture shows 'zabbix-admins' group configuration):
Before we do this let's make sure we followed couple of common steps Zabbix administrators usually do right after new instance of Zabbix server installed.
Create groups in Zabbix
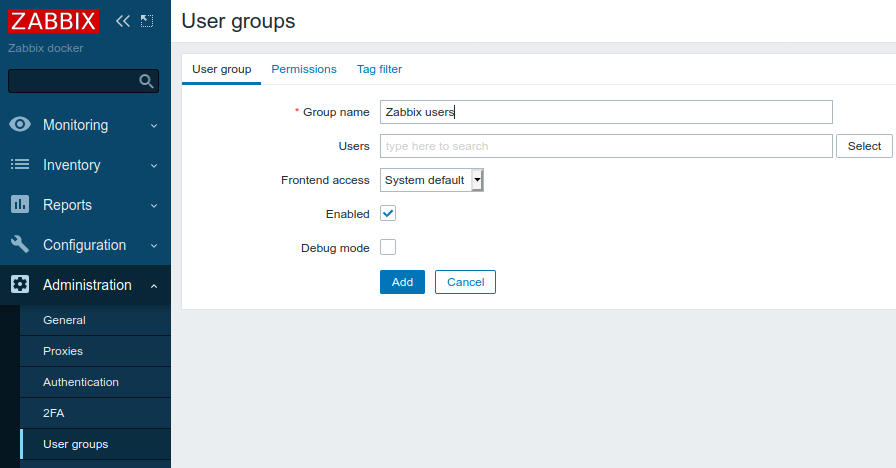
Login into zabbix-appliance container using http://localhost:8080/ URL. By default Zabbix server already has 'Zabbix administrators' group. Let's create 'Zabbix users' group with read-only access to all Host groups. Go to Administration -> User groups and click Create user group then fill in the form:
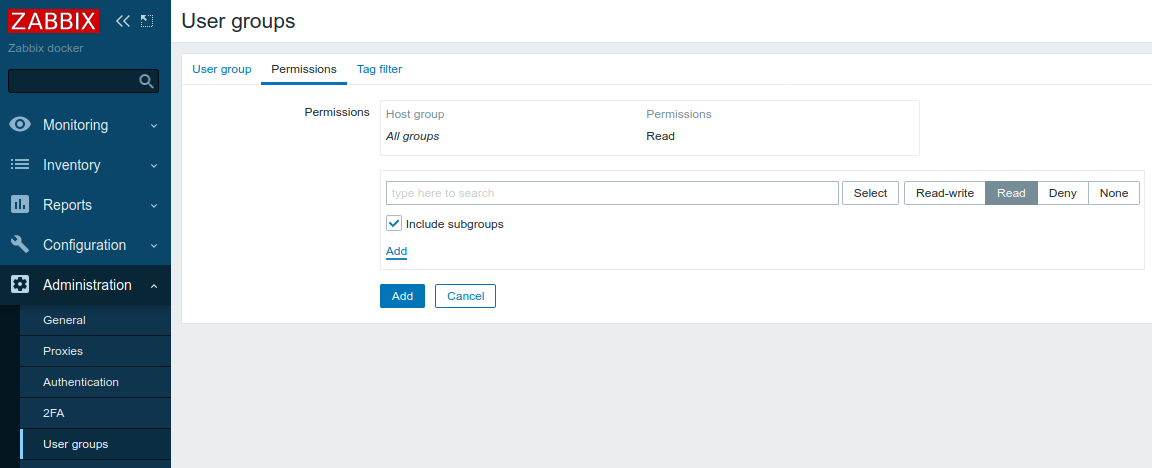
Click Permissions tab and make all the Host groups readable for this User group:
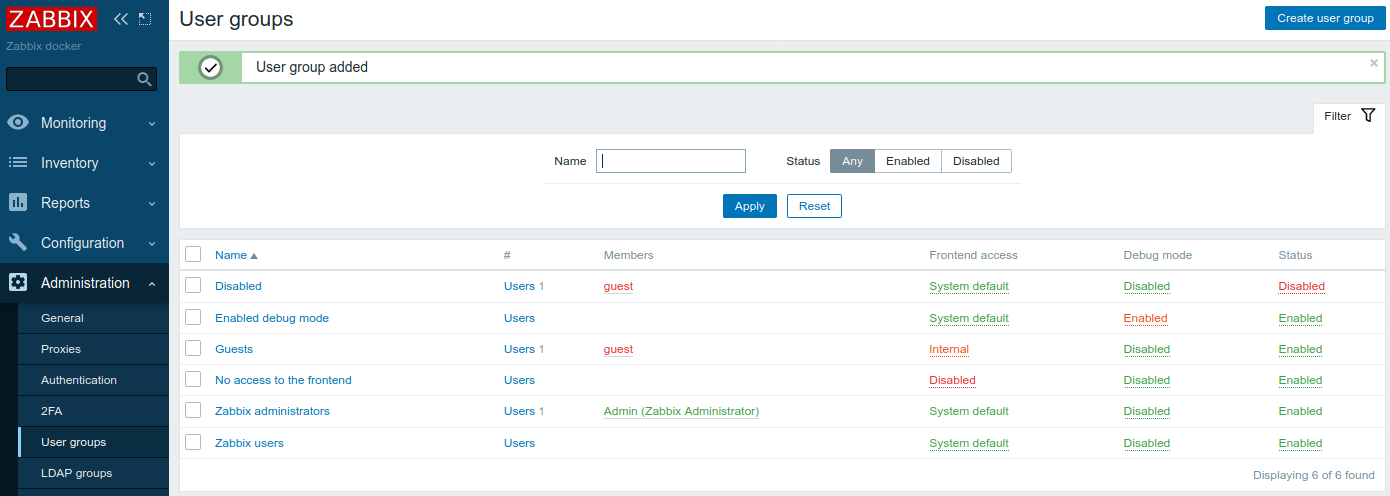
Click Add button. This is all User groups we have configured in Zabbix server now:
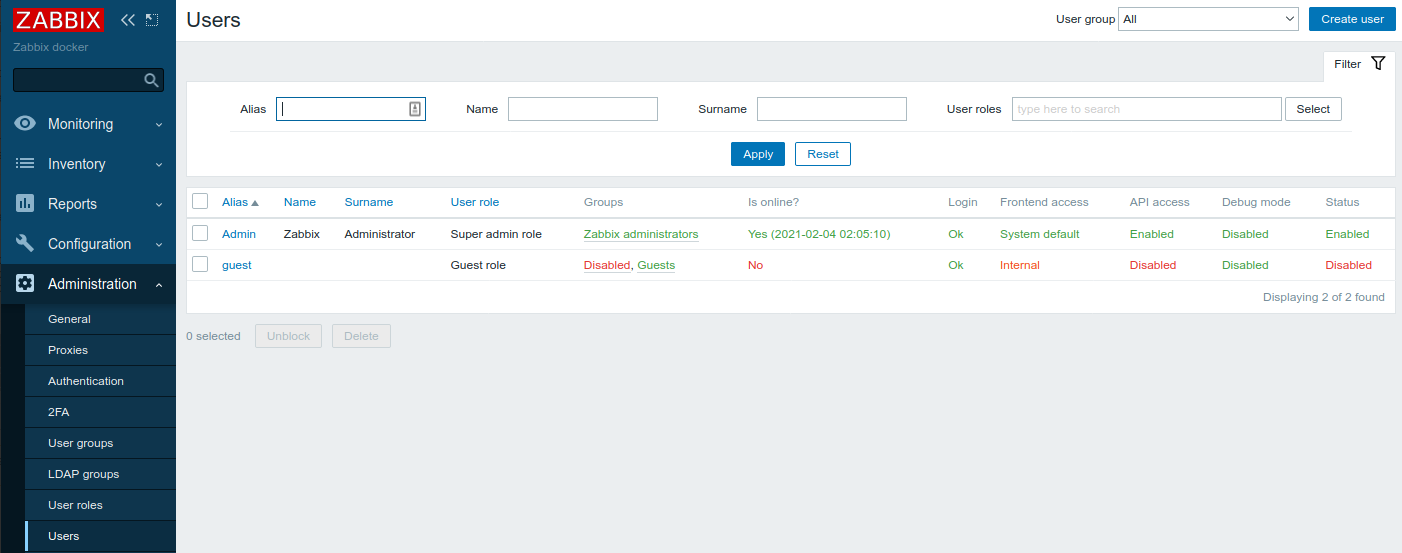
Let's check that we have only default users configured:
Create group mappings
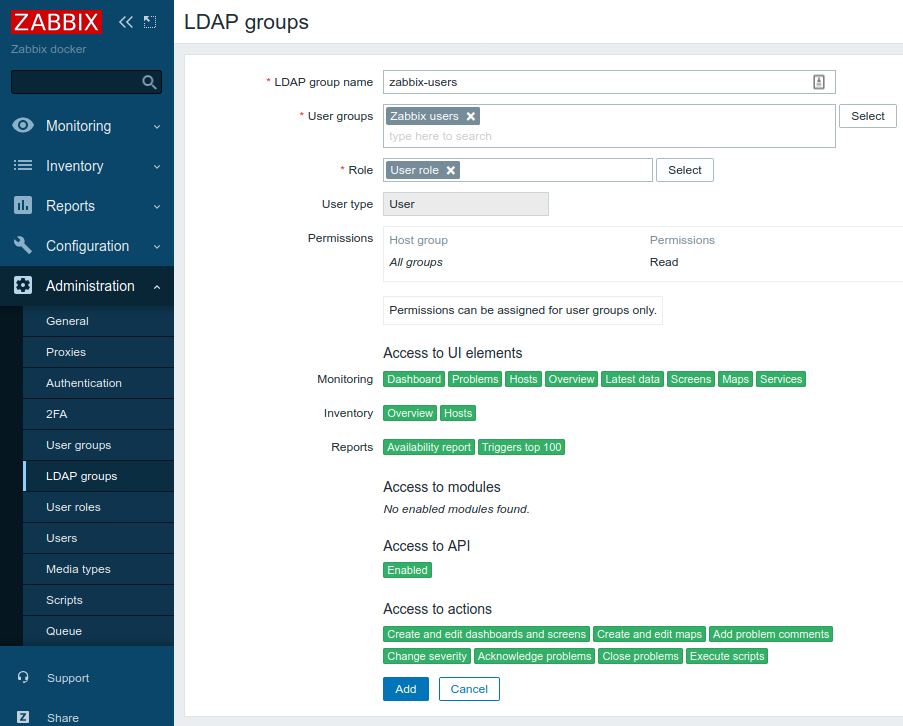
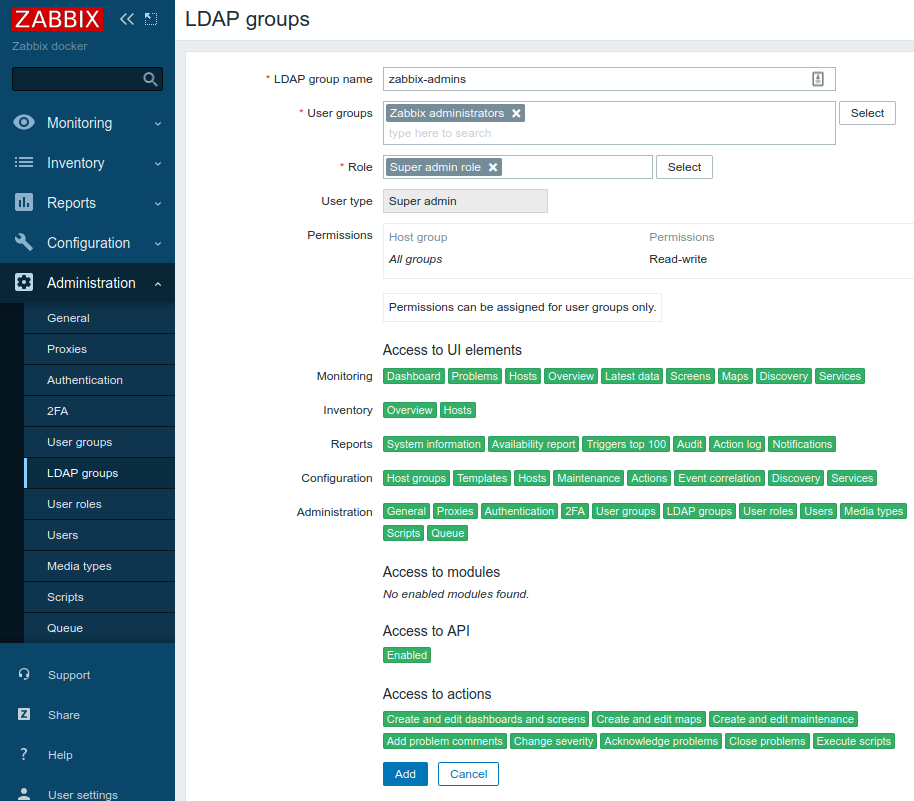
Now we need to tell which LDAP group corresponds to which Zabbix User group. Go to Administration -> LDAP groups and click Create LDAP group. Create two mappings (according to our LDAP server configuration - see above):
- LDAP group zabbix-users that maps to User group Zabbix users, all users belonging to this group will have Zabbix user type
- LDAP group zabbix-admins that maps to User group Zabbix administrators, all users belonging to this group will have Zabbix Super Admin type
Configure LDAP authentication
In Zabbix server WebUI go to Administration -> Authentication -> LDAP settings and fill in all the fields following way (put the word 'password' in both Bind password and User password fields:
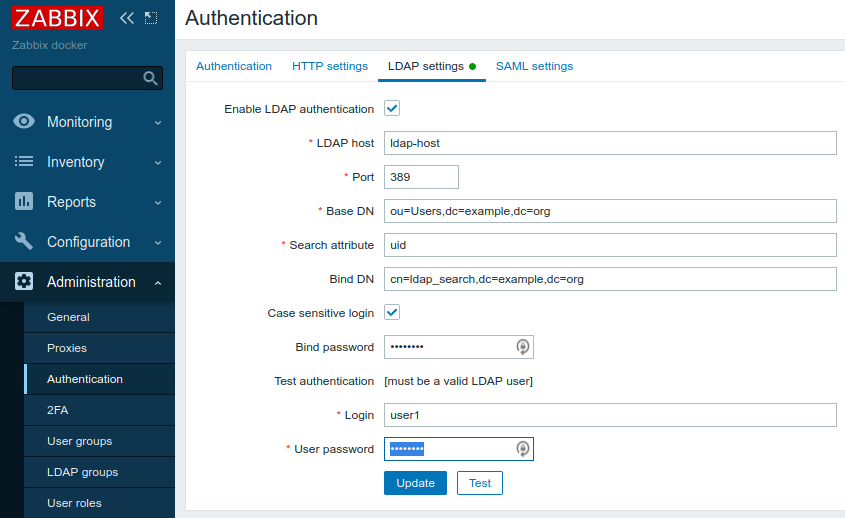
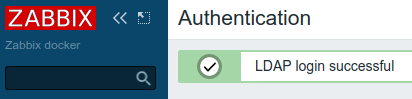
Click Test button an you should see successful result:
Click Update button and you'll be redirected to Administration -> Authentication -> Authentication tab:
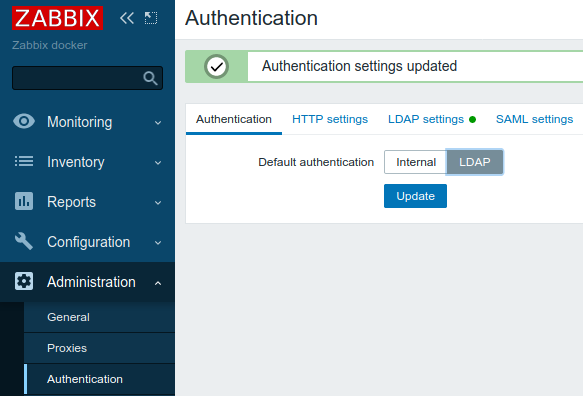
Select LDAP and click Update.
Test authentication using LDAP groups
Sign out of Zabbix server WebUI and login with username user1 and password as password. If you followed carefully this guide you should login successfully. Now check that user1 has been successfully created as Zabbix user, it belongs to Zabbix user group Zabbix administrators and has Zabbix Super Admin User type - everything as we configured in groups mappings in previous steps. Sign out and sign in with username user3 (password as password) which belongs to zabbix-users LDAP group. Now you don't even see Administration menu as you don't have administrator rights. Sign in again with user1 (or user2, they both belong to zabbix-admins LDAP group) and see that all newly created users are there (Administration -> Users):
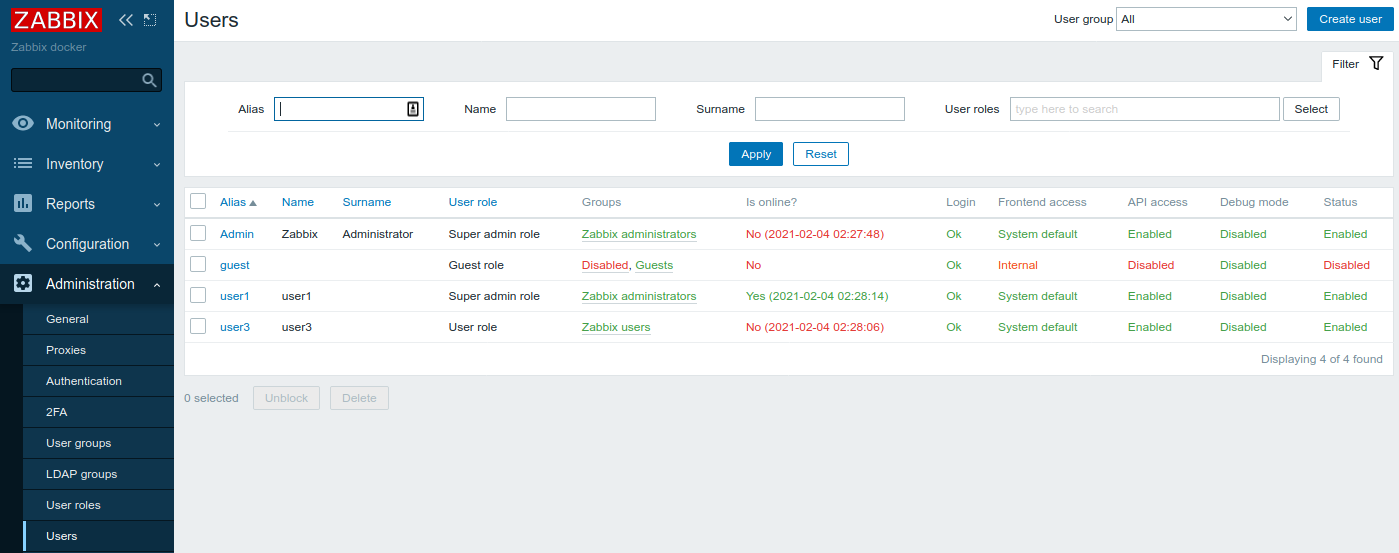
That's it: users created automatically based on LDAP groups membership.